Deploy Fides to Kubernetes
In Get started with Fides, you deployed Fides on your local computer along with Cookie House—a sample application that lets you quickly get a feeling for how Fides works in practice. The next step is to deploy a minimal Fides installation from scratch, so that you can start adding your own systems and databases.
In this tutorial, you’ll deploy Fides to a Kubernetes cluster. By the end, you’ll be able to:
- Understand the basic Fides deployment architecture
- Deploy the Fides web server
- Create a user and log in to the Fides Admin UI
- Deploy a Fides worker for asynchronous processing of Data Subject Requests
Note that while you’ll have a working Fides installation at the end of this article, additional configuration will be necessary before you can submit a privacy request. My next article will cover privacy request, including how to configure a DSR request policy and authenticate with the Fides API.
The recommended way to deploy Fides to Kubernetes is to use the official Fides Helm chart.
This tutorial is intended as an educational walk-through of the components involved in deploying Fides to Kubernetes, and a starting point for those who don’t use Helm.
Before you start
To finish this tutorial:
- You’ll need Kubernetes running either locally or remotely on a public or private cloud.
- If you want to run Kubernetes on your local computer, see minikube or Docker Desktop.
Deployment overview
Before we get into it, let’s first take a look at what’s included in a Fides deployment.
- Fides web server: The main application, including the API and the Admin UI.
- Fides worker: Processes data subject requests.
- Database: A PostgreSQL database server to store configuration.
- Cache: A Redis database to cache the execution and scheduling of tasks.

The
Fides Docker image includes both the web server and the worker. The role is determined by the argument passed to the fides command (webserver or worker).
Create the Fides configuration
In this section, you’ll create the base configuration required by Fides. Fides uses a fides.toml file for configuration.
Create a new namespace to isolate the Fides from any resources that may be configured already.
kubectl create namespace my-fidesCreate a new file named
fides-config.yamlwith the following content:apiVersion: v1 kind: ConfigMap metadata: name: fides-config data: fides.toml: | [database] enabled = true [redis] enabled = trueAdd the ConfigMap to the cluster:
kubectl apply -f fides-config.yaml
We’ll mostly be using the default values, but you can see all the available configuration in the Fides docs.
Next, we’ll configure the credentials and encryption keys in a Kubernetes Secret.
- Credentials for the root OAuth client—for accessing the API
- Credentials for the root user—for creating new users
- App encryption key—for signing API access tokens
- User encryption key—for encrypting user data in the database
First, you need to generate random strings that you can use for the various settings. Below you’ll find a reference for the recommended format of each attribute.
| Secret | Format |
|---|---|
FIDES__SECURITY__OAUTH_ROOT_CLIENT_ID | UUID v4 |
FIDES__SECURITY__OAUTH_ROOT_CLIENT_SECRET | 24 characters alphanumeric string |
FIDES__SECURITY__APP_ENCRYPTION_KEY | 32 characters alphanumeric string |
FIDES__SECURITY__ROOT_USERNAME | |
FIDES__SECURITY__ROOT_PASSWORD | Must contain at least one of each of the following:
|
FIDES__USER__ENCRYPTION_KEY | 32 characters alphanumeric string |
If you’re running Linux or macOS, you can use the commands below to generate the required values.
To generate a base64-encoded 32 characters long alphanumeric string:
openssl rand -base64 48 | tr -dc 'a-zA-Z0-9' | head -c 32For 24 characters, change head -c 32 to head -c 24.
To generate a base64-encoded UUIDv4, run the following in your terminal:
# Linux
uuidgen -r
# macOS
uuidgenNow that you’ve generated the secrets for each attribute, let’s create the secret.
Create a file named
fides-secret.yamlwith the following contents:kubectl create secret generic fides-secret \ --from-literal=FIDES__SECURITY__OAUTH_ROOT_CLIENT_ID='' \ --from-literal=FIDES__SECURITY__OAUTH_ROOT_CLIENT_SECRET='' \ --from-literal=FIDES__SECURITY__APP_ENCRYPTION_KEY='' \ --from-literal=FIDES__SECURITY__ROOT_USERNAME='' \ --from-literal=FIDES__SECURITY__ROOT_PASSWORD='' \ --from-literal=FIDES__USER__ENCRYPTION_KEY=''Apply the resource to the cluster:
kubectl apply -f fides-secret.yaml
Set up PostgreSQL and Redis
Fides requires a PostgreSQL database to run and to store the systems you add, as well as a Redis-compatible cache storage.
In this section, you’ll provision instances of PostgreSQL and Valkey, and then configure Fides to use them. Valkey is an exciting open-source in-memory data store seeking to preserve the original open source ethos of Redis.
Create a free Aiven account
For this tutorial, we’ll use Aiven—a data platform that offers free pricing plans for hosted PostgreSQL and Valkey. If you already have a preferred hosting provider for PostgreSQL and Redis, feel free to use it instead.
Sign up for a free Aiven account.
Create a new project called
fides.
Configure PostgreSQL
In this step, you’ll use Aiven for PostgreSQL to create a PostgreSQL instance, and create the corresponding Fides configuration in a Kubernetes Secret.
Open the Aiven console and choose PostgreSQL under Create a new service.
Choose Free plan, fill in your hosting preferences, and then click Create free service.
Skip the remaining steps in the guide until you see the service overview.
Create a new Kubernetes Secret using the credentials shown under Connection Information:
kubectl create secret generic fides-db-secret \ --from-literal=FIDES__DATABASE__DB='YOUR_AIVEN_DATABASE_NAME' \ --from-literal=FIDES__DATABASE__SERVER='YOUR_AIVEN_HOST' \ --from-literal=FIDES__DATABASE__PORT='YOUR_AIVEN_PORT' \ --from-literal=FIDES__DATABASE__USER='YOUR_AIVEN_USER' \ --from-literal=FIDES__DATABASE__PASSWORD='YOUR_AIVEN_PASSWORD'
It may take a few minutes to get the service up and running.
Enable caching with Redis
While the Fides configuration mentions Redis, you can still use other open-source alternatives that are compatible with Redis, such as Valkey.
In this step, you’ll use Aiven for Valkey to configure a cache storage for Fides.
Open the Aiven console and choose PostgreSQL under Create service.
Choose Valkey.
Choose Free plan, fill in your hosting preferences, and then click Create free service.
Skip the remaining steps in the guide until you see the service overview.
Create a new Kubernetes Secret using the credentials shown under Connection Information:
kubectl create secret generic fides-redis-secret \ --from-literal=FIDES__REDIS__HOST='YOUR_AIVEN_HOST' \ --from-literal=FIDES__REDIS__PORT='YOUR_AIVEN_PORT' \ --from-literal=FIDES__REDIS__PASSWORD='YOUR_AIVEN_PASSWORD' \ --from-literal=FIDES__REDIS__SSL='true'
Deploy the Fides web server
In this step, you’ll create a Kubernetes deployment for the Fides web server using the secrets and configuration you configured in the previous steps.
Create a filed named
fides.ymlwith the following contents:apiVersion: apps/v1 kind: Deployment metadata: name: fides spec: selector: matchLabels: app: fides template: metadata: labels: app: fides spec: containers: - name: fides image: ethyca/fides env: - name: FIDES__CONFIG_PATH value: "/etc/fides/config/fides.toml" envFrom: - secretRef: name: fides-secret - secretRef: name: fides-db-secret - secretRef: name: fides-redis-secret volumeMounts: - name: config mountPath: "/etc/fides/config" ports: - name: http containerPort: 8080 protocol: TCP livenessProbe: httpGet: path: / port: http initialDelaySeconds: 120 readinessProbe: httpGet: path: /health port: http initialDelaySeconds: 120 volumes: - name: config configMap: name: fides-configOnce running, the Fides container will run the migrations needed to provision the database.
Check on the deployment with the following command:
kubectl get podsOnce the
READYcolumn says1/1, Fides is successfully up-and-running.NAME READY STATUS RESTARTS AGE fides-6b6784597b-w97qm 1/1 Running 0 30sIf the pod keeps restarting, you can check the logs with the following command:
kubectl logs -f deployment/fides
The first time you run Fides, you should see something like the following:
INFO | - Starting server setup...
INFO | - Starting Fides - v0+unknown
INFO | - Startup configuration: reloading = False, dev_mode = False
INFO | - Startup configuration: pii logging = False
INFO | - Migrating database
INFO | - Running database upgrade to revision head
...Finally, you should see the following once the migration has completed:
INFO | - Fides startup complete! v0+unknown
INFO | - Server setup completed in 26.656 secondsFides is running, but we don’t yet have a way to access the web server. Next, let’s expose the Admin UI so that we can log in from the web browser.
Expose Fides
To access a running container in the Kubernetes cluster, we’ll need to expose our deployment using a Kubernetes Service. The specific steps depend on where Kubernetes is running. The following steps assume that you’re running Kubernetes locally. If you’re running Kubernetes using a cloud provider, consult the provider’s documentation for how to expose it.
Create a Kubernetes Service with the following command:
kubectl expose deployment fides --type=NodePortCheck to see which node port the service is exposed on:
kubectl get servicesIn the example below, Fides is exposed on
localhost:31900.NAME TYPE CLUSTER-IP EXTERNAL-IP PORT(S) AGE fides NodePort 10.103.97.140 <none> 8080:31900/TCP 2m12sAlternatively, you can set up port-forwarding, and visit localhost:8080:
kubectl port-forward deployment/fides 8080:8080
Create a Fides user
To log in to the Admin UI, you’ll first need to create a user. You won’t be able to log in user the root user credentials.
To create a user, you first need to open a shell inside the Fides container:
Open a shell inside the Fides container:
kubectl exec --stdin --tty deployment/fides -- /bin/bashLog in using the root user credentials from earlier.
fides user login --username YOUR_ROOT_USERNAME --password YOUR_ROOT_PASSWORD> Loaded config from: /etc/fides/config/fides.toml Logged in as user: root_user Credentials file written to: /home/fidesuser/.fides_credentialsCreate the first user:
fides user create <YOUR_USERNAME> <YOUR_PASSWORD> <YOUR_EMAIL>> Loaded config from: /etc/fides/config/fides.toml User: 'test_user' created and assigned permissions: ['owner']
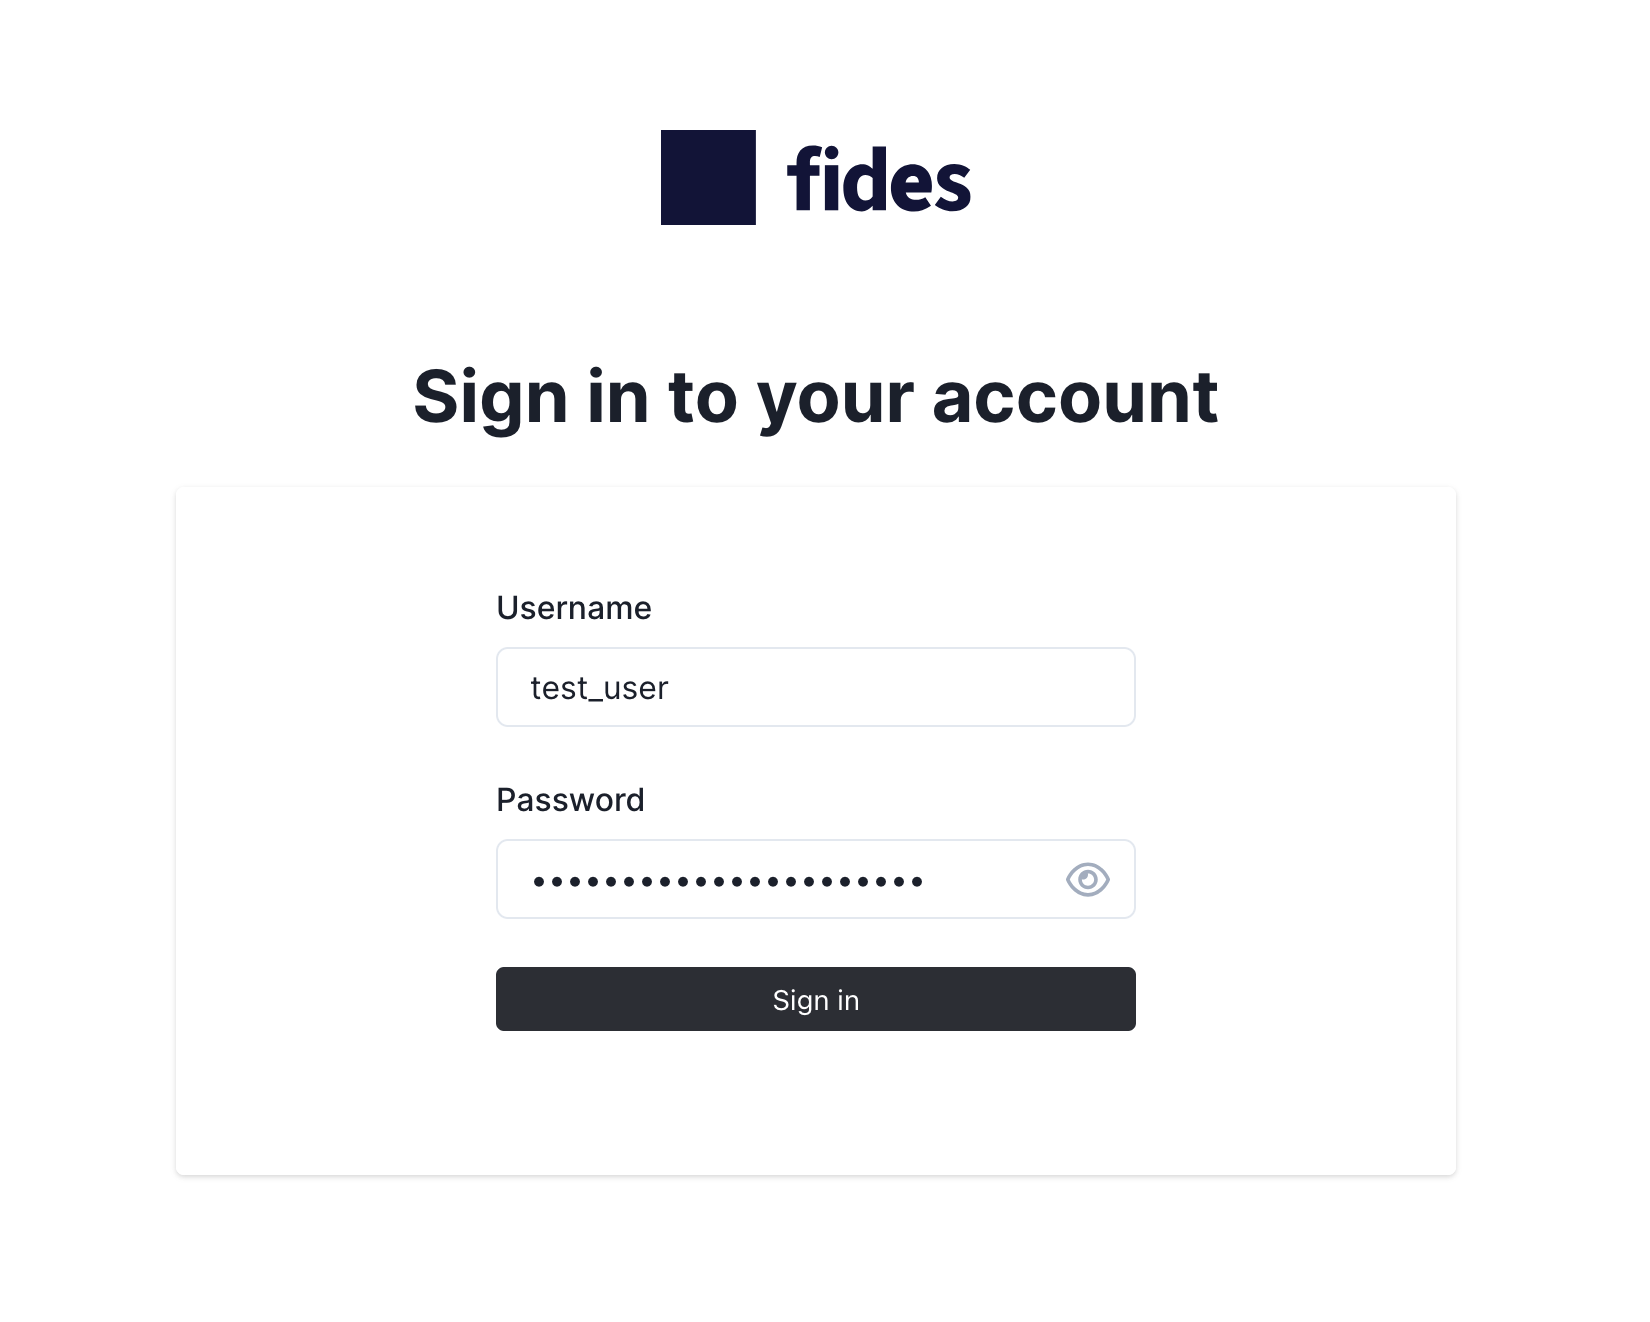
You can now log in to the Admin UI with the credentials you just entered.
Deploy the Fides worker
Right now, all data subject requests are processed in the same process as the web server. Let’s set up a worker that processes submitted requests asynchronously.
Create a new file called
worker-config.yml:apiVersion: v1 kind: ConfigMap metadata: name: fides-worker-config data: fides.toml: | [database] enabled = true [redis] enabled = true [celery] event_queue_prefix = "fides_worker" task_default_queue = "fides" task_always_eager = trueCreate the deployment for the Fides worker:
apiVersion: apps/v1 kind: Deployment metadata: name: fides-worker spec: selector: matchLabels: app: fides-worker template: metadata: labels: app: fides-worker spec: containers: - name: fides image: ethyca/fides command: ["fides"] args: ["worker"] env: - name: FIDES__CONFIG_PATH value: "/etc/fides/config/fides.toml" envFrom: - secretRef: name: fides-secret - secretRef: name: fides-db-secret - secretRef: name: fides-redis-secret volumeMounts: - name: config mountPath: "/etc/fides/config" ports: - name: http containerPort: 8080 protocol: TCP livenessProbe: exec: command: [ "bash", "-c", "celery --quiet --no-color --app fides.api.tasks inspect ping --destination celery@$HOSTNAME --json", ] initialDelaySeconds: 30 periodSeconds: 60 timeoutSeconds: 5 volumes: - name: config configMap: name: fides-worker-configThe worker is waiting for work. Next, let’s modify the Fides deployment from before to send tasks to the worker.
Update the Fides config:
apiVersion: v1 kind: ConfigMap metadata: name: fides-config data: fides.toml: | [database] enabled = true [redis] enabled = true [celery] event_queue_prefix = "fides_worker" task_default_queue = "fides" task_always_eager = false
task_always_eager determines whether Fides should run the tasks immediately or send them off to the task queue. In this case, we only want the tasks to run on the worker, so we set task_always_eager to false on the web server.
Next steps
You’ve successfully deployed Fides to Kubernetes. But before we can create our first privacy requests, we need to configure a storage destination and DSR request policy. In the next article, you’ll learn how to create your first privacy request. Stay tuned!
Comments
Leave a comment by replying to the post on Bluesky or Mastodon.