Get started with Fides

To remain compliant with privacy laws and regulations, organizations need to continuously monitor how data is used across their systems. Instead of relying on PR reviews, imagine if you could catch privacy issues automatically before they make it into production.
In this tutorial, you’ll learn about Fides—an open-source privacy engineering platform that lets you map sensitive data across your systems, run automated privacy checks, and quickly respond to data subject requests, or DSRs.
You’ll first deploy a local sample project with an e-commerce sample application that uses Fides to map personal data. Throughout the tutorial, you’ll switch between the role of a user exercising their privacy rights and an administrator responsible for responding to user-submitted data requests.
If you’re looking to install Fides from scratch, check out Deploy Fides to Kubernetes instead.
Before you start
To finish this tutorial, you’ll need:
- Docker (20.10.11 or higher)
- Python (3.9 or higher)
- venv (or any environment manager you’re comfortable with, such as Conda)
If you’re running Python 3.12, you may experience errors during the installation process. If this happens, you may find it easier to use an earlier Python version.
To see your current Python version:
python3 --versionWhat is Fides?
Fides is an open-source privacy engineering platform that uses a privacy-as-code approach to manage personal data across your data systems. Fides can scan your infrastructure and generate data maps, which you can then use to, for example, run automated privacy checks and fulfill data requests.
At the core of Fides is Fideslang—a YAML-based configuration language that defines your datasets, systems, and policies. While Fideslang enables a comprehensive set of use cases, this tutorial will focus on responding to data subject requests (DSR).
For a more in-depth explanation of Fides, see the video by Cillian Kieran—founder and CEO at Ethyca, the company behind Fides.
Install Fides locally
Fides is deployed as a web server that reads Fideslang configuration and provides several operations through the Fides REST API.
To avoid setting up a production-like environment when you just want to try it out, Fides comes with a sample project intended to run locally. The sample project includes the Fides web server, an admin UI, and a sample application that we’ll explore later.
Once you’re ready to deploy Fides to your own infrastructure, see the Advanced installation docs.
Fides is available as a Python package, so we’ll start by installing Fides to a virtual Python environment.
Create a folder for the Fides sample project:
mkdir ~/fides
cd ~/fides
Create and activate a virtual environment using venv:
python3 -m venv fides
source fides/bin/activate
Install Fides using pip:
pip install ethyca-fides
Once the pip command finishes, we can start deploying the sample project.
Run the Fides sample project
To deploy the Fides sample project locally, run the following command:
fides deploy upThe first time you run the command, it’ll need to download the necessary dependencies. This may take a few minutes, depending on your internet connection.
The Fides sample project uses Docker to define the services and databases required by the sample project.
If you have experience with Docker, you may be interested to see the docker-compose.yml file for the sample project.
Once Fides has been successfully deployed, you’ll be asked whether you’d like to share usage analytics with Ethyca. Select the option you’re most comfortable with.
In the final output, you’ll see the URLs to access each component of the sample project. You can also browse to localhost:3000/landing to get an overview, including a project diagram.

Now that the sample project is up and running, take some time to explore the different components. Remember to check out the project diagram at the bottom of the landing page to better understand how the various parts interact. When you’re ready, let’s check out the included sample application.
Cookie House—delicious privacy
Cookie House is a fictional e-commerce store where you can buy—judging by the prices—Michelin-rated cookies.
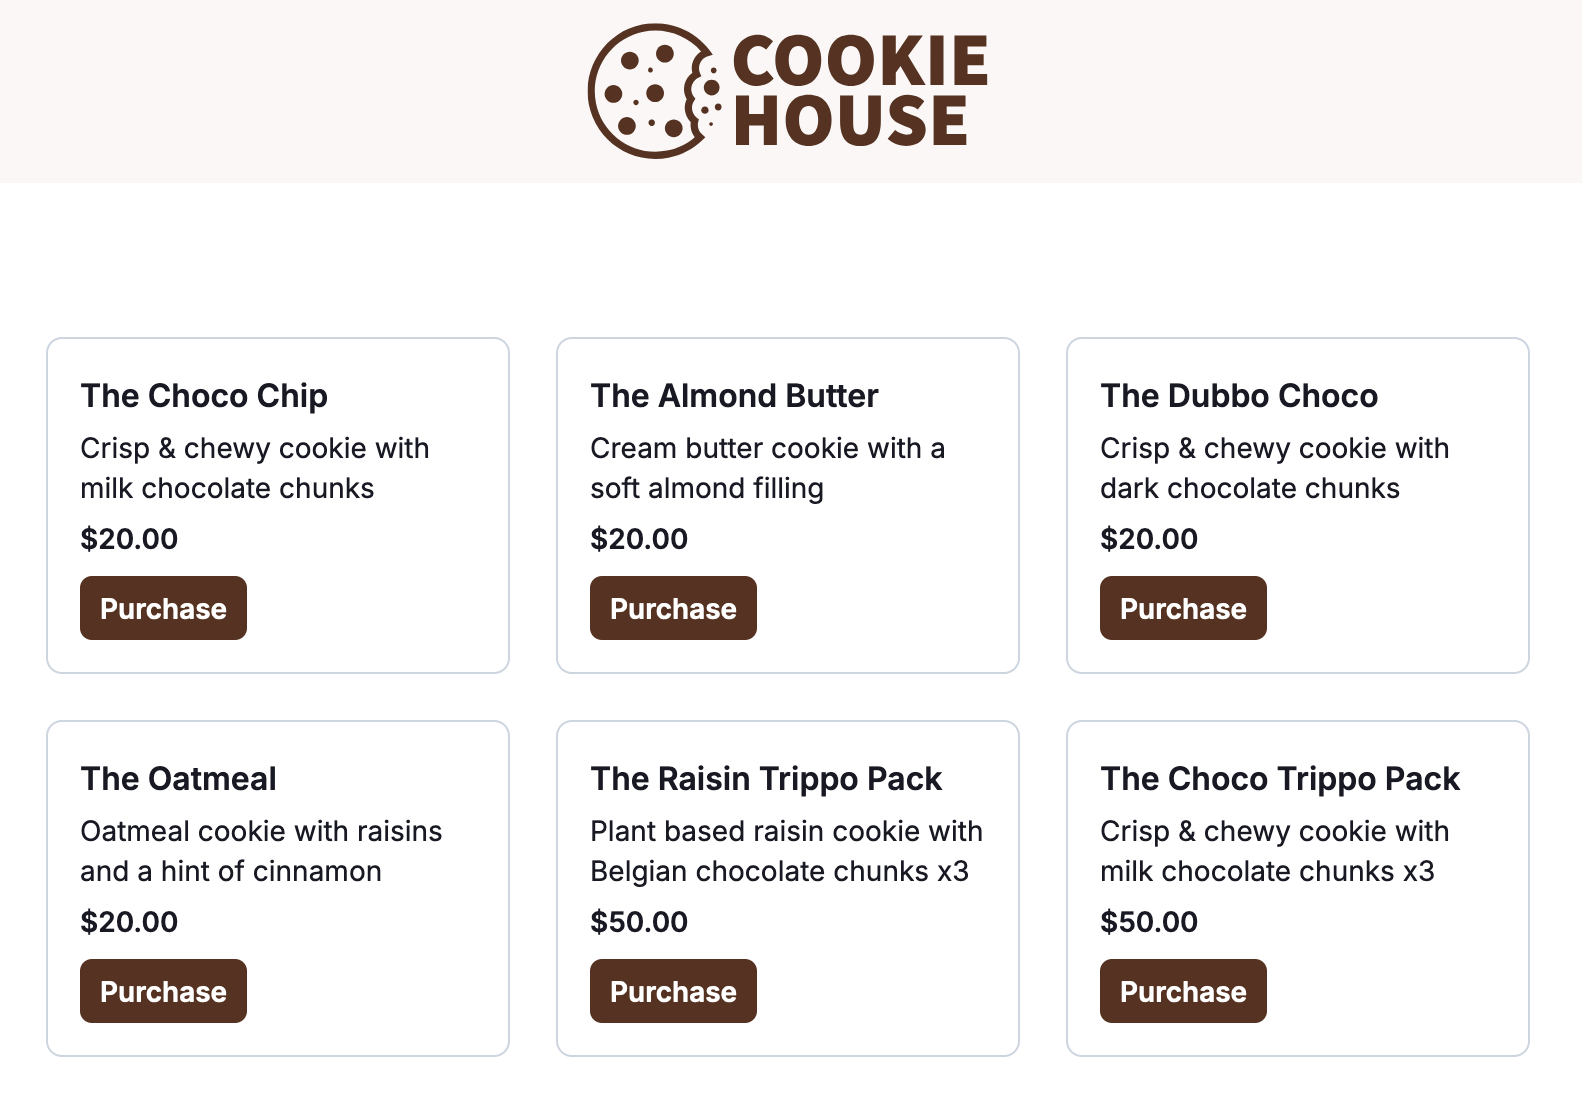
To deliver the cookies, Cookie House needs some personal data, such as the name and physical address of the user. Let’s make a purchase so we’ll have some data to request later.
Visit localhost:3000/ to see the store.
Find the tastiest-looking cookie, and click Purchase under it.
Fill in all the fields. Remember the email you used. You’ll need it later to access your data.
Click Purchase at the bottom.
You’ve entrusted Cookie House with your personal data. Later, we’ll request access to the data you submitted. But before that, let’s see what it looks like for the administrator at Cookie House.
Fides Admin UI
The Admin UI is a web application that communicates with the Fides API to perform common administrative tasks.
Open localhost:8080 in your browser.
Sign in using the test credentials. You can find your credentials on the landing page or in the terminal output from the
fides deploy upcommand.
The Admin UI lets you manage several aspects of your Fides installation. Let’s look at two of them: system inventory and request manager.
In the sidebar on the left, under Data inventory, click System inventory.
This view gives you an overview of all the systems that Fides manages. In this demo, you can see the different systems that handle data about Cookie House users.
In the sidebar, under Privacy requests, click Request manager.
This view lists the data requests made by data subjects, or the Cookie House users in our example.
As you can see, the Privacy Requests view is empty right now. Let’s change that by making an access request to see what data Cookie House has about you.
Respond to data access requests
Before we decide whether to erase the data, let’s first see what data they stored from our recent purchase.
Create a data access request
The Cookie House sample application includes a Privacy center that lets users exercise their privacy right by requesting access to their data, or erasing it altogether.
Head back to Cookie House and click Privacy center at the very bottom (or browse directly to localhost:3001).
Click Access your data.
In Email, enter the email you used when you purchased the cookies.
In First name, enter the name you used with your order.
Click Continue.
The data request has now been submitted to Fides and awaits approval by a Cookie House administrator.
Approve a data access request
Once the user has submitted a data request, we need to respond within the configured time frame. We don’t want them to wait for too long, so let’s review it right now.
Switch back to the Privacy Requests in the Fides Admin UI. You’ll see a new access request in the list (you may need to refresh the page).
- The Days left column shows how long you have until you must respond to the request.
- The Actions column lets you either approve (checkmark icon) or deny (cross icon) the data request.
In the Actions column, click the checkmark.
Click Confirm to approve the request.
Notice that the Status changed to Completed. The request has now been fulfilled, which means the user can now access their data.
Inspect the exported data
In production, you’d likely send an email to the user to let them know where they can find the exported data. When running Fides locally, the data is instead exported to a folder in your project folder.
In your terminal, change the directory to the
fides_uploadfolder and list its contents:cd ~/fides/fides_uploads lsYou’ll see a ZIP file with a name starting with
pri_.Unzip the exported data into a new folder.
unzip pri_b3624022-a2ba-48bc-8956-541ff81d9a63.zip -d data_exportThe exported data contains a
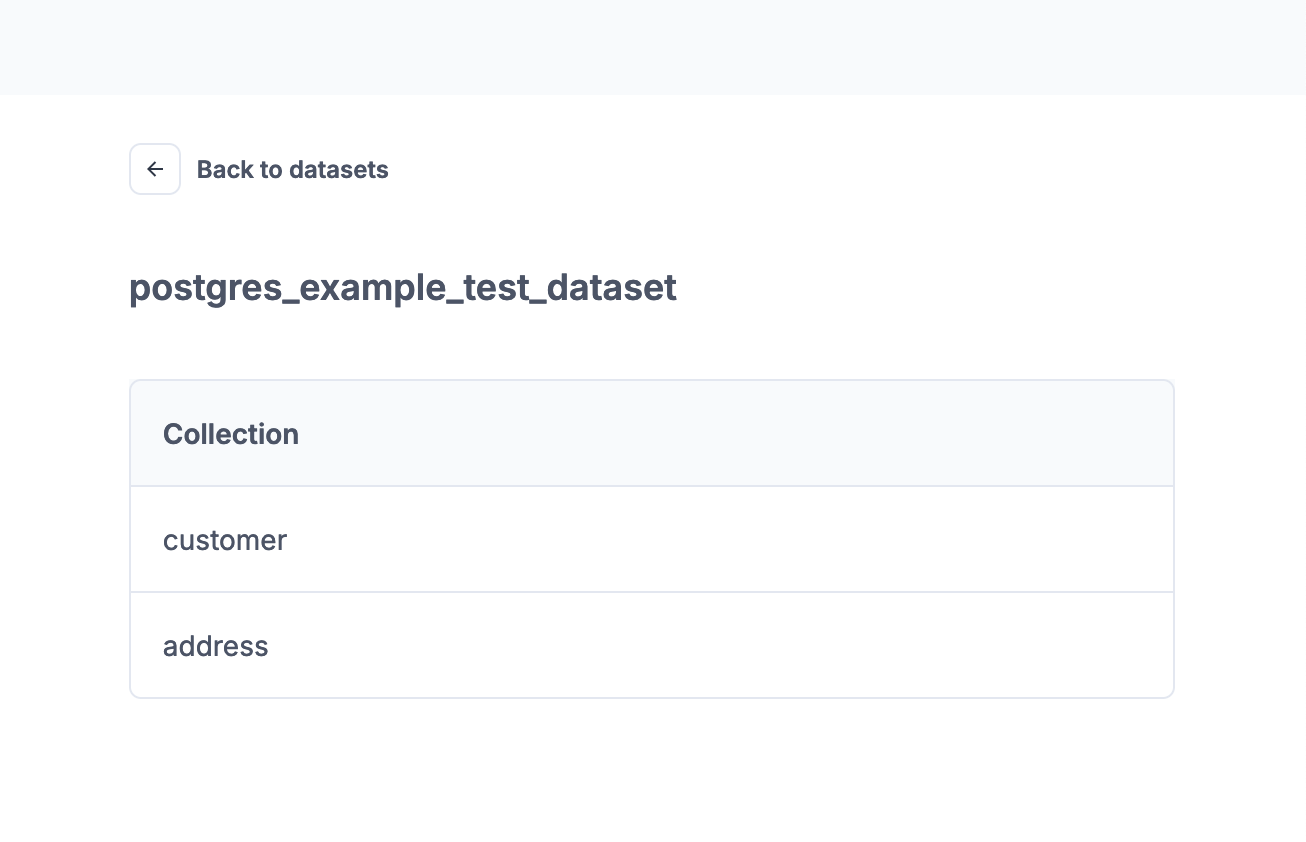
datafolder, and awelcome.htmlpage where you can browse the contents.Open
welcome.htmlin your browser.# macOS open ./data_export/welcome.htmlYou can click the rows in the table to navigate the dataset. Click the Back arrow at the top to go back to the previous view.
Respond to data erasure requests
While you may have enjoyed your $20 cookie, you later come to terms with the fact that it was a one-time purchase, and your budget won’t be able to sustain your costly cookie cravings.
Since we don’t expect to do any more business with Cookie House, let’s request the data to be erased.
Create a data erasure request
To create an erasure request, head back to the Privacy center.
Click Erase your data.
Enter the email you used earlier and click Continue.
You’ve successfully submitted an erasure request and need to wait for a Cookie House administrator to approve it.
Approve a data erasure request
In the Fides Admin UI, switch back to Privacy requests.
You’ll see that a new request has been added (refresh the page if not). Notice under Request type that this is an Erasure request, whereas the previous one was an Access request.
Approve the request by clicking the checkmark in the Actions column.
The user data has now been erased from the systems managed by Fides. If you’d like, you can verify this by submitting another access request through the Privacy center.
Summary
In this tutorial, you’ve explored how Fides can be used to manage data subject requests for an e-commerce store. You learned how to respond to both access and erasure requests submitted by users.
How are DSRs handled in your organization today? How do you keep track of personal data throughout your systems today, and how do you think that would change with Fides?
Fulfilling data requests is just one of several use cases that is possible with Fides. To learn more, see the Fides docs.
Are you interested in learning more about Fides or other open-source privacy tools, let me know.
Feel free to continue exploring the sample project. When you’re done, you can run the following command to shut down the sample project to free up resources:
fides deploy down